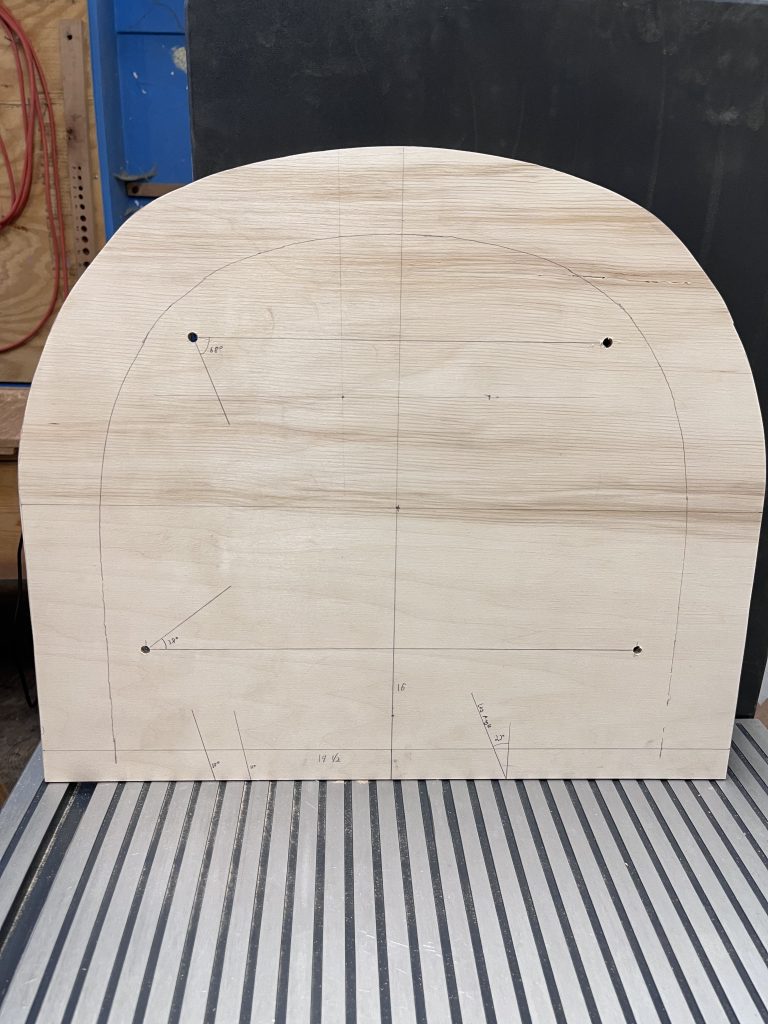
Templates are a critical part of chairmaking for a few reasons. The first one that probably jumps to mind is being able to reproduce identical parts across several chairs. That’s definitely an important reason. After iterating on few variations, I’ve settled on a seat shape that I quite like. It’s a rectangle for the front half, with a compound radius curve across the back. Once I settled on this set of shapes, I made up a template for it. The template obviously lets me reproduce the basic seat shape, but it has a few other nice features, too. I laid out the leg mortise locations on the template itself, so I can just transfer these over to a new seat without having to do any layout. I marked out the common angles for this seat on the template, so I can just set my angle gauge to these angles straight from the template.

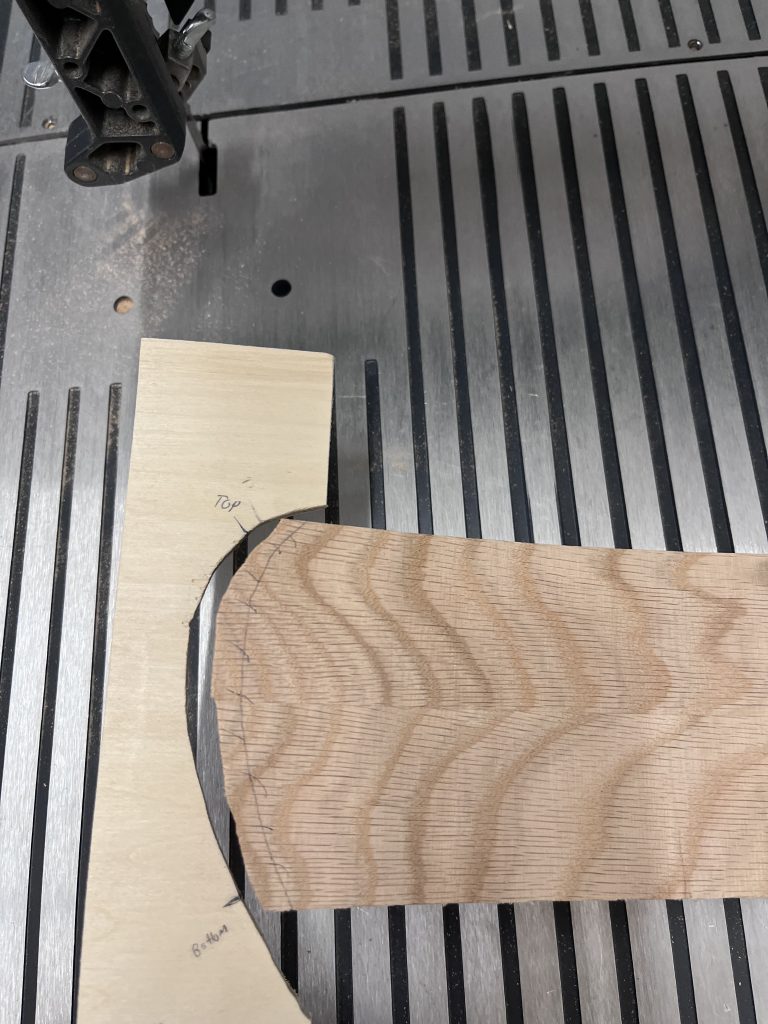
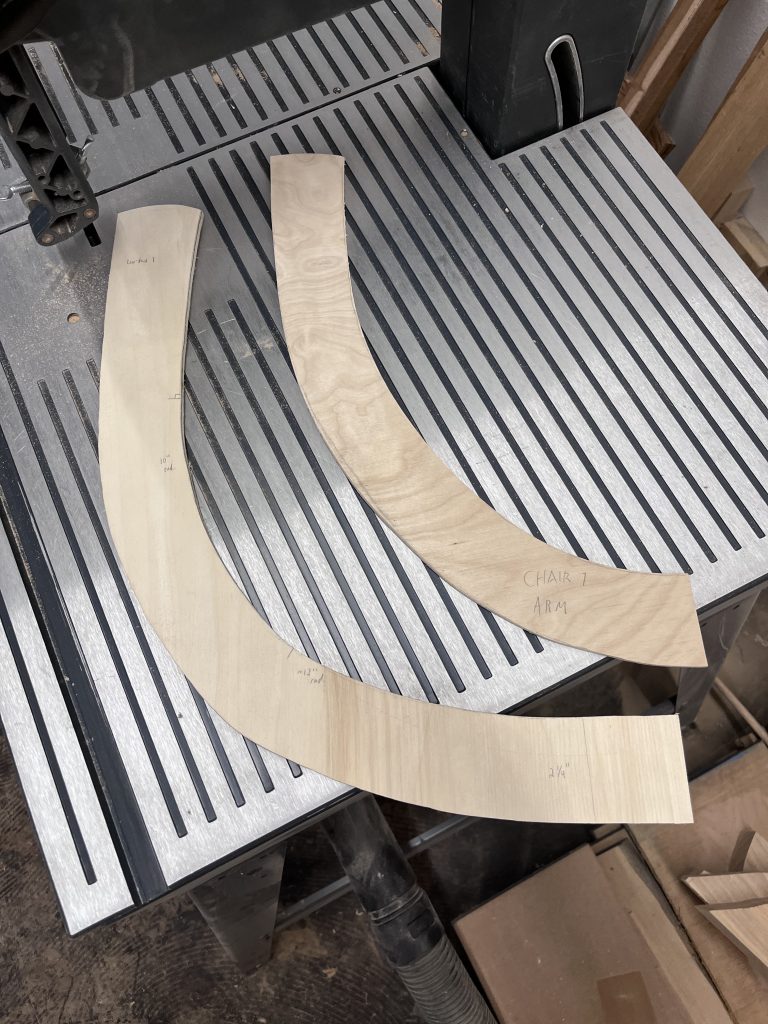
Another type of template I use is for mirrored parts, like arms and crest profiles. These are useful even just for one-off parts. Because the templates are made from thin 1/4″ plywood, I can do the layout once and just flip the template over to get a mirror image on the opposite end of the part, without having to do the layout twice.

Finally, they’re a great place to keep notes about the designs I make. When I want to make a tweak to a part design, I can refer to the notes I made on the template itself for what I did before. Maybe I used a 16-inch radius for an arm, and I’d like to make it a little wider. I can use all the same layout as I did last time, but grow the radius to 18″, without having to re-invent all the layout from scratch.

